The beehive hairstyle, a symbol of 1960s glamour, is making a triumphant return to the fashion scene. This iconic look, characterized by its voluminous, upswept shape, has captivated generations of style enthusiasts. Whether you’re channeling vintage vibes or seeking a modern twist, mastering the beehive can elevate your hair game to new heights. In this guide, we’ll explore the history of this timeless style, provide step-by-step instructions for creating your own beehive, and share tips for adapting the look to suit your personal style.
Table of Contents
● The Rise of the Beehive: A Hair Revolution
● Crafting Your Perfect Beehive: Step-by-Step Guide
● Essential Tools for Beehive Success
● Modern Twists on a Classic Style
● Maintaining Your Beehive: Tips and Tricks
The Rise of the Beehive: A Hair Revolution
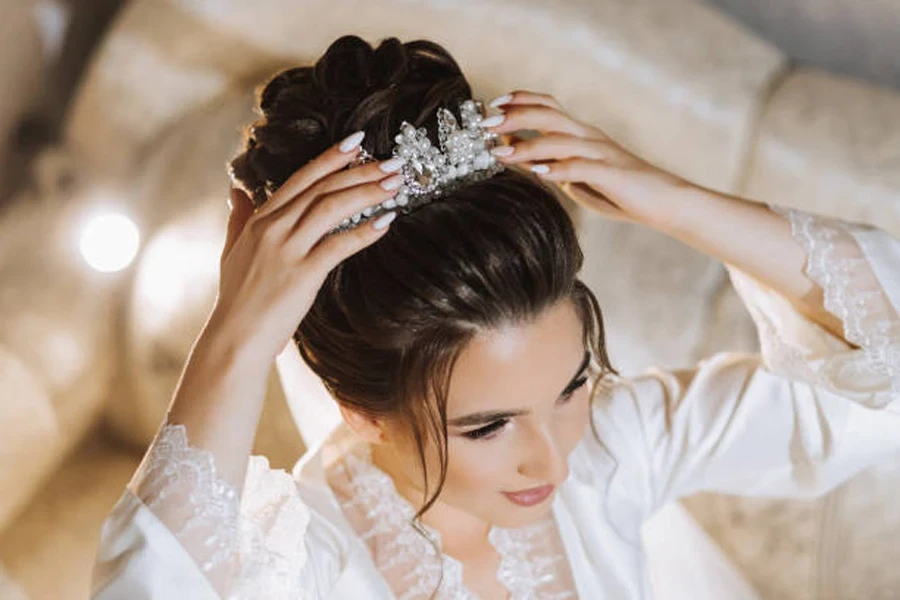
The beehive hairstyle burst onto the fashion scene in 1960, created by Margaret Vinci Heldt, a Chicago-based hairstylist. Inspired by a fez-style hat, Heldt crafted a hair design that would become an emblem of the decade. The style’s name was coined when she playfully added a decorative bee pin to the model’s hair, completing the “beehive” look. This innovative updo quickly captured the imagination of women across America and beyond, symbolizing the changing social landscape and women’s growing desire for self-expression through fashion.
Throughout the 1960s, the beehive became a staple for celebrities and everyday women alike. Icons such as Audrey Hepburn, Brigitte Bardot, and Aretha Franklin all sported variations of the style, cementing its status as a must-have look. The beehive’s popularity stemmed from its versatility – it could be adapted to suit different face shapes, hair lengths, and occasions, from casual daywear to glamorous evening events.
While the beehive’s popularity waned in subsequent decades, it never truly disappeared from the fashion landscape. In recent years, we’ve witnessed a resurgence of interest in this classic style, with modern interpretations gracing red carpets and fashion runways. Contemporary stars like Adele and Beyoncé have embraced the beehive, giving it a fresh twist that appeals to a new generation of style enthusiasts. This revival demonstrates the enduring appeal of the beehive, proving that truly iconic hairstyles never go out of fashion – they simply evolve with the times.
Crafting Your Perfect Beehive: Step-by-Step Guide
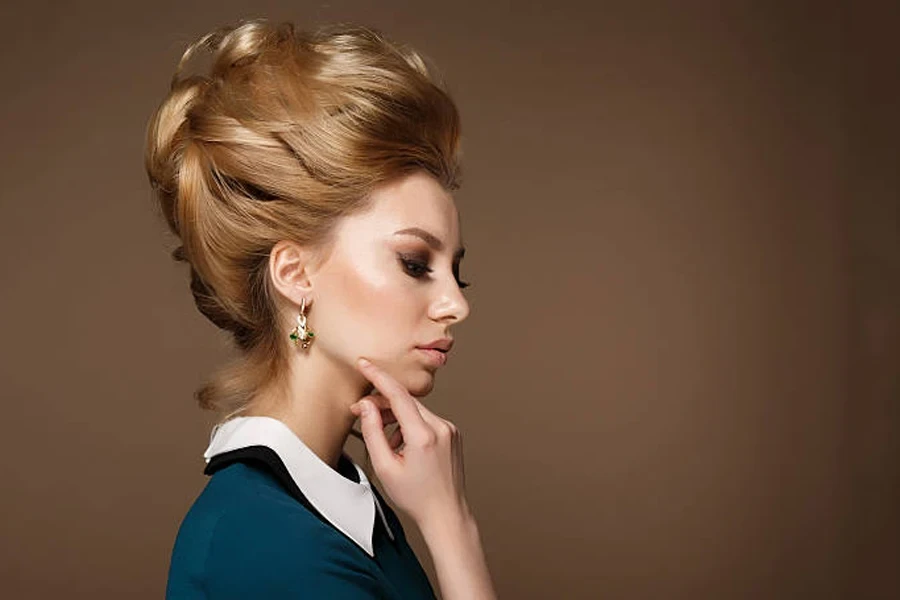
Creating a beehive may seem daunting, but with the right technique, you can achieve this iconic look at home. Start with clean, dry hair that’s been treated with a volumizing mousse or spray for added grip. Section your hair into three parts: front, middle, and back. The middle section will form the core of your beehive, so begin there. Take small subsections and backcomb from the roots down, working your way up to the crown. Remember, the more you tease, the higher your beehive will be.
Once you’ve teased the middle section, smooth the outer layer gently with a brush to create a polished appearance. Gather the teased hair and begin shaping it into the classic beehive silhouette, tucking the ends under and securing with bobby pins. Don’t be shy with the pins – they’re crucial for maintaining the structure. Next, focus on the front section. You can create a sleek side part, vintage bangs, or a voluminous front poof, depending on your preference. Blend this front section into the rest of your beehive, securing with more pins as needed.
Finally, work on the back section, smoothing it upwards and incorporating it into the main structure of the beehive. Use a fine-toothed comb to gently smooth the outer layer of your entire hairstyle, being careful not to disrupt the underlying teased structure. Finish with a generous application of strong-hold hairspray to lock everything in place. For added shine and to tame any flyaways, lightly mist a shine spray over the finished style. With practice, you’ll be able to create a beehive that’s worthy of any red carpet or special occasion.
Essential Tools for Beehive Success
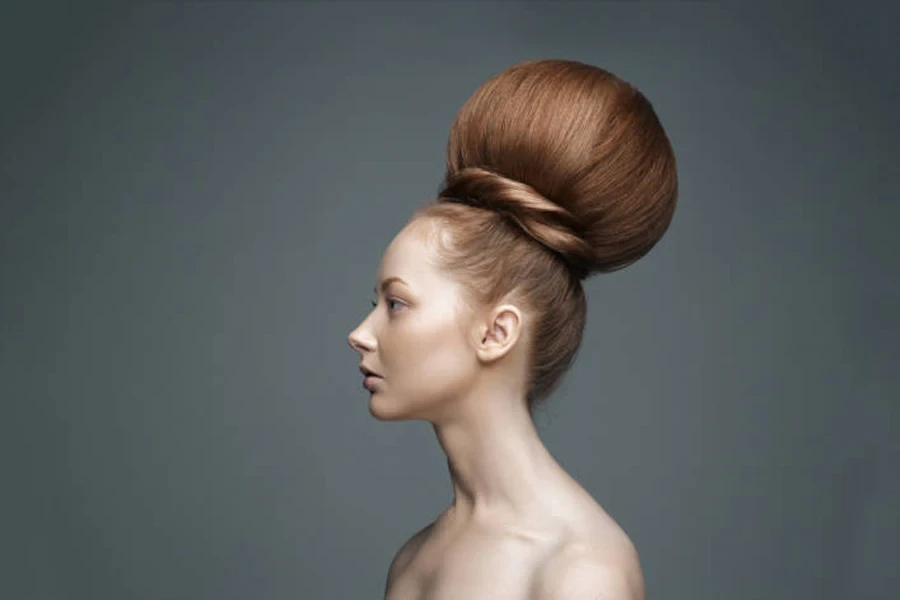
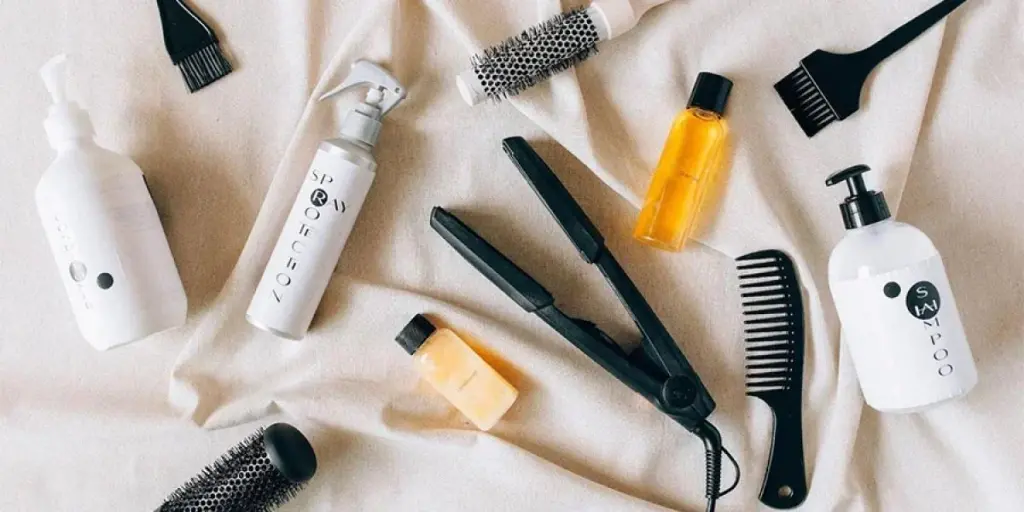
To create the perfect beehive, you’ll need a well-stocked hair toolkit. The cornerstone of your beehive arsenal is a quality teasing comb. Look for one with fine, closely-spaced teeth that can effectively backcomb your hair without causing excessive damage. A rat-tail comb is also invaluable for precise sectioning and smoothing the outer layers of your beehive. For added versatility, invest in a combination teasing and smoothing brush – one side for backcombing and the other for creating a polished finish.
Bobby pins are the unsung heroes of the beehive world. Opt for pins that match your hair color and have a strong grip. You’ll need plenty of these to secure your style, so stock up! A set of hair sectioning clips will also prove indispensable, allowing you to work on one area at a time without interference from the rest of your hair. Don’t forget about hairspray – choose a strong-hold formula that will keep your beehive intact throughout the day or night.
For those seeking extra volume, consider adding a hair donut or rat (a mesh tube filled with hair or synthetic fibers) to your toolkit. These can be used to create additional height and structure within your beehive. A fine-mist water spray bottle can be helpful for dampening hair slightly before teasing, which can make the process easier and more effective. Lastly, invest in a good dry shampoo – it can be a lifesaver for refreshing your beehive between washes and adding extra texture and grip to your hair.
Modern Twists on a Classic Style
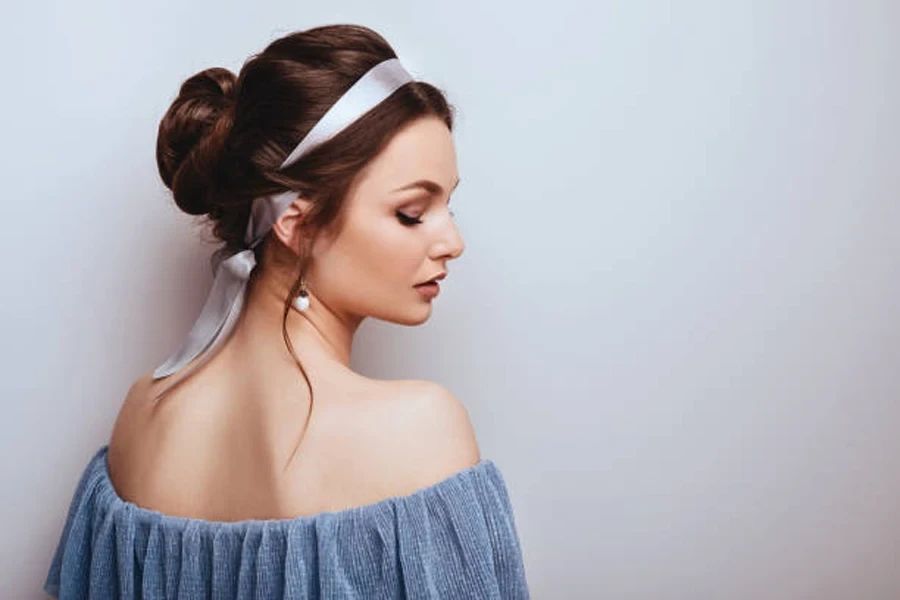
While the traditional beehive remains a timeless favorite, contemporary interpretations have breathed new life into this iconic hairstyle. One popular modern twist is the “messy beehive,” which maintains the height and structure of the classic look but incorporates deliberately tousled elements for a more relaxed, effortless vibe. This version is perfect for those who love the drama of a beehive but prefer a less polished appearance. To achieve this look, create your beehive as usual, then gently loosen some strands around the face and crown for a softened effect.
Another current trend is the “half-up beehive,” which combines the volume of a traditional beehive at the crown with loose, flowing hair at the back. This style offers the best of both worlds – the eye-catching height of a beehive with the versatility of wearing your hair down. It’s an excellent option for those with longer hair or anyone looking for a more wearable, everyday version of the classic beehive. To create this look, focus on teasing and shaping just the top section of your hair, leaving the lower half loose.
For those with shorter hair, the “pixie beehive” has emerged as a chic alternative. This style takes the voluminous crown of a traditional beehive and adapts it to work with cropped cuts. The result is a bold, edgy look that combines vintage inspiration with modern flair. To achieve a pixie beehive, focus on creating height and texture at the crown through teasing and strategic styling, while keeping the sides sleek and close to the head.
Maintaining Your Beehive: Tips and Tricks

Once you’ve crafted your perfect beehive, you’ll want to ensure it lasts as long as possible. One key tip is to sleep on a silk or satin pillowcase, which reduces friction and helps maintain the shape of your style overnight. If you’re planning to keep your beehive for multiple days, consider wrapping it gently in a silk scarf before bed to further protect its structure. In the morning, use your fingers or a wide-toothed comb to carefully reshape any flattened areas, and refresh with a light mist of hairspray.
Throughout the day, carry a small teasing comb and a travel-sized hairspray in your bag for quick touch-ups. If your beehive starts to lose volume, find a quiet spot to do some gentle re-teasing at the roots. For flyaways or frizz, a small amount of hair oil or serum applied with your fingers can help smooth things out without weighing down your style. Remember, the key is to touch your hair as little as possible to maintain its shape and avoid introducing oils from your hands.
To extend the life of your beehive between washes, dry shampoo is your best friend. Apply it to your roots before bed to absorb excess oil overnight. In the morning, gently massage it in and brush out any residue. This not only refreshes your hair but can also add extra volume and grip to your style. If you notice your beehive becoming too stiff or sticky from product buildup, a light misting with water and a gentle reshaping can help soften the look without requiring a full wash and restyle.
Conclusion
The beehive hairstyle, with its timeless appeal and versatile nature, continues to captivate hair enthusiasts across generations. Whether you’re aiming for a classic 1960s look or a modern interpretation, mastering this iconic style can elevate your hair game to new heights. With the right tools, techniques, and a bit of practice, you can create a stunning beehive that suits your personal style and occasion. Remember, the key to a great beehive lies in patience, precision, and a healthy dose of hairspray. So why not give it a try? Embrace your inner retro queen or modern diva, and let your hair reach for the sky with a fabulous beehive creation.

