Jump-starting a car using jumper cables is a skill that can save you from being stranded due to a dead battery. However, doing it incorrectly can be dangerous, leading to personal injury or damage to your vehicle. This article breaks down the process into simple, actionable steps, ensuring you can safely and effectively use jumper cables when the need arises. Let’s demystify the process together.
Table of Contents:
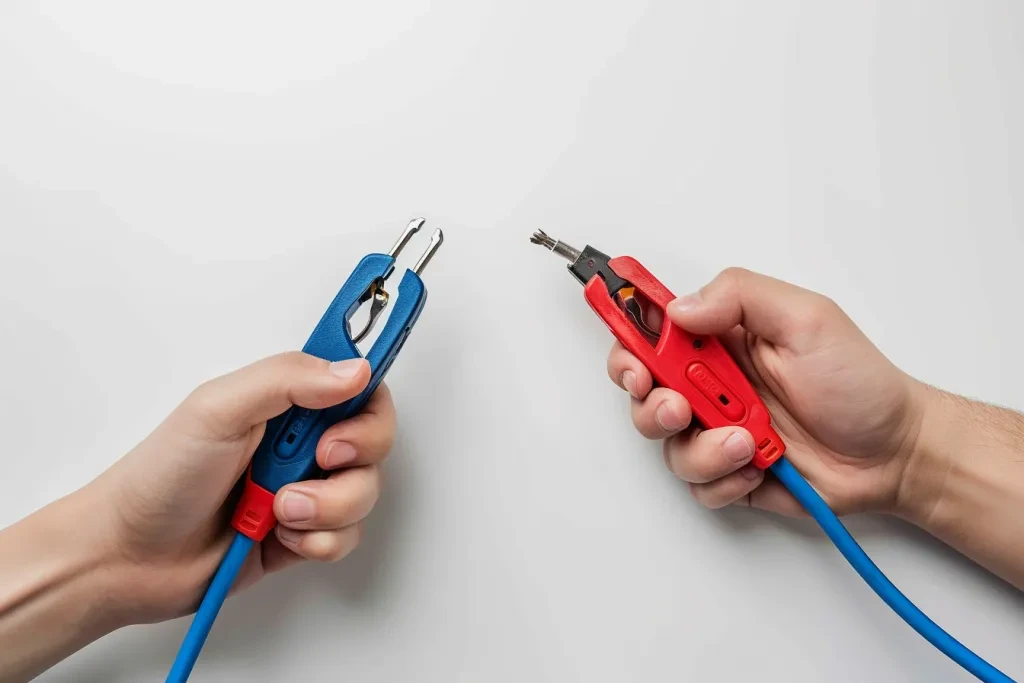
– Understanding jumper cables and their types
– Preparing to jump-start your car
– Connecting the jumper cables correctly
– Starting the car and removing the cables
– Safety tips and common mistakes to avoid
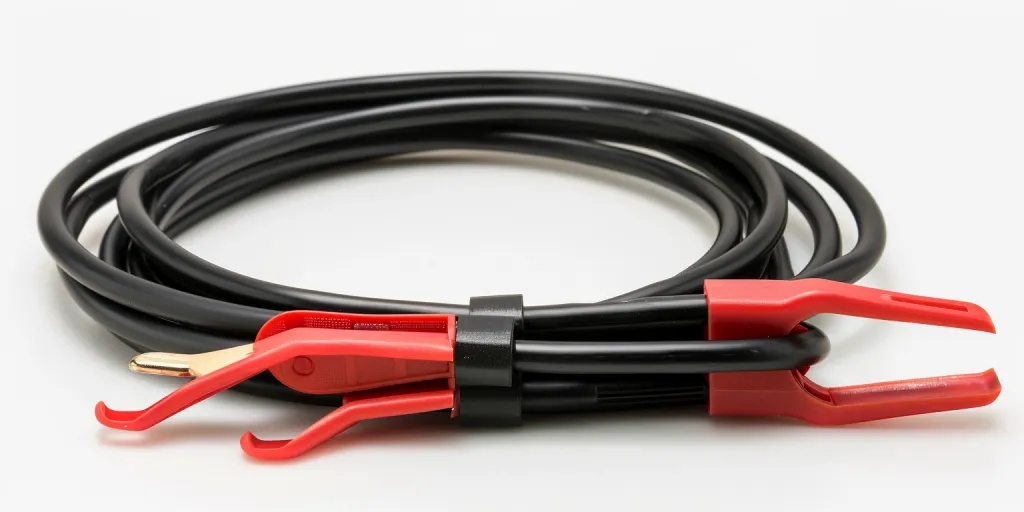
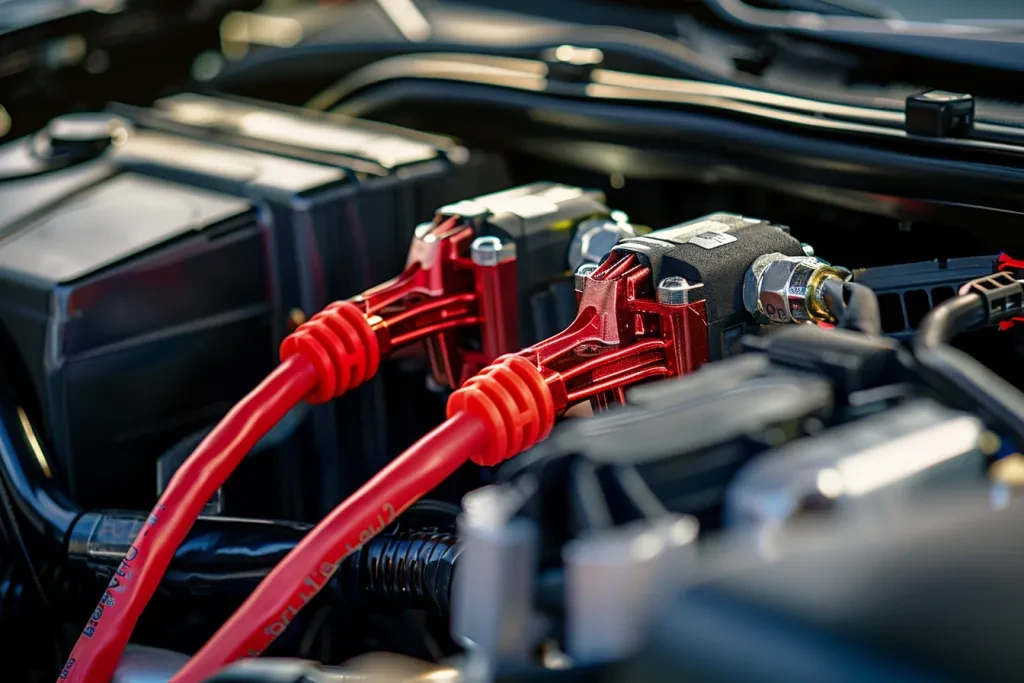
Understanding jumper cables and their types
Jumper cables are more than just wires; they’re lifelines for your vehicle in times of need. They come in various gauges, lengths, and with different clamp designs. A lower gauge number means a thicker cable, which can carry more current, making the jump-start process quicker and more efficient. Length varies, but longer cables provide flexibility in positioning the two vehicles. However, longer cables can also result in a loss of power. The clamp design affects how easily and securely they can be attached to the battery terminals.
When selecting jumper cables, consider the gauge, length, and clamp design that best suit your needs. It’s also essential to store them in your vehicle, so they’re always at hand when needed. Knowing the types and how to choose the right one is the first step toward mastering their use.
Preparing to jump-start your car
Before attempting to jump-start the vehicle, ensure both cars are turned off, and their parking brakes are engaged. It’s crucial for safety to check that the batteries are compatible in voltage (most cars use a 12-volt system). Also, inspect the dead battery for any visible damage or leaks. If you notice anything concerning, it’s safer to seek professional help rather than proceeding with the jump-start.
Position the working vehicle close to the one with the dead battery, ensuring the cables can comfortably reach both batteries without stretching too tight. However, make sure the vehicles do not touch each other to avoid a short circuit.
Connecting the jumper cables correctly
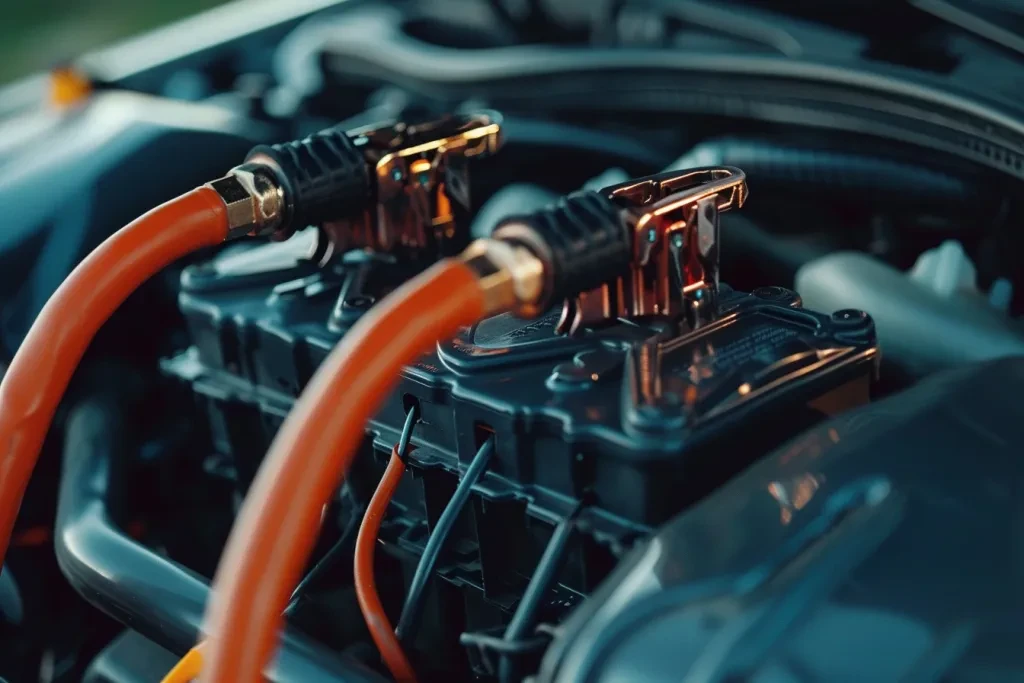
The sequence in which you connect the cables is vital for safety and the success of the jump-start. First, attach one red clamp to the positive (+) terminal of the dead battery. Then, connect the other red clamp to the positive (+) terminal of the good battery. Next, connect one black clamp to the negative (-) terminal of the good battery. Finally, attach the other black clamp to an unpainted metal surface on the car with the dead battery, away from the battery itself, to ground the connection.
This sequence minimizes the risk of sparking or short circuits, ensuring a safer jump-start process. Once everything is securely connected, double-check the connections and proceed to start the working car.
Starting the car and removing the cables
With the jumper cables properly connected, start the engine of the working vehicle. Let it run for a few minutes to allow the dead battery to charge. After a short period, attempt to start the car with the dead battery. If it starts, let both cars run for several more minutes to ensure the previously dead battery gains enough charge to keep the vehicle running.
When removing the cables, reverse the order in which you connected them. Start by removing the black clamp from the grounded surface on the previously dead car, then the black clamp from the good battery. Follow by removing the red clamp from the good battery and, finally, the red clamp from the now running vehicle. This process ensures safety and minimizes the risk of any electrical issues.
Safety tips and common mistakes to avoid
Jump-starting a car is relatively straightforward, but safety should always be your top priority. Always wear protective gear, such as gloves and safety glasses, to protect yourself from potential sparks or battery acid. Never attempt to jump-start a battery that appears to be frozen, swollen, or leaking, as it could explode.
One common mistake is connecting the negative clamp to the negative terminal of the dead battery, which can cause sparking and potentially ignite gases around the battery. Another error is not ensuring a good ground connection, which can prevent the car from starting.
Conclusion:
Using jumper cables correctly is an essential skill for any driver. By following the steps outlined in this guide, you’ll be prepared to safely jump-start your car whenever the need arises. Remember, safety is paramount, so take your time, follow the instructions carefully, and don’t hesitate to seek professional help if you’re unsure about any step in the process. With this knowledge, you’ll never be left stranded by a dead battery again.